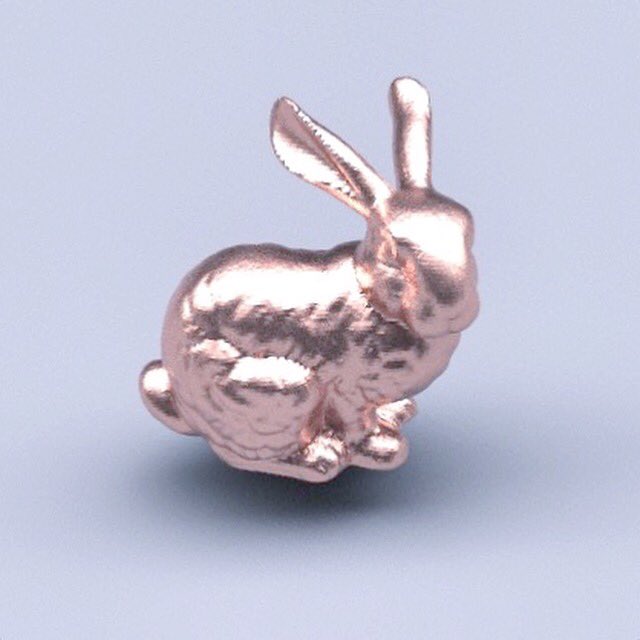
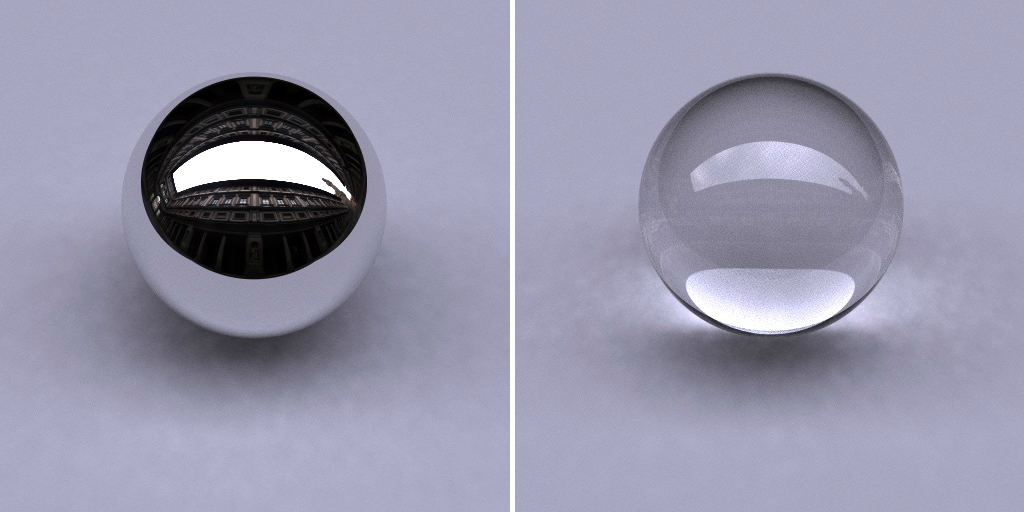
I’ve been working on this famous book about physics based rendering technique(PBR). It is a huge book that covers nearly everything about PBR from theories (physics/mathematics/computer science) to code implementation of the whole system. I am going to post my reading/researching notes on the blog just for tracking progress as well as future reference.

Thoughts
I’ve been always fascinated by the realistic and clean looking of the images rendered using PBR technique. It would be a great experience to be able to understand how we visually perceive the world down to the physics level, and then to try to recreate the visual result through math and programming.
However, as a game developer who is mainly dealing with real-time rendering problems everyday, PBR is just a dream that far from practical application (though progress has been made to bring some PBR technique to video game –> NVIDIA Reinvents the Workstation with Real-Time Ray Tracing). But I believe by diving into PBR I can have a better understanding of all the related classic rendering techniques, and eventually help me understand game graphics and rendering problems.
PBRT Setup
Here is the notes of how to setup the repository and build the source of PBRT, and eventually render an image with it.
Repository
Get the git repository from here. Readme file is great on explaining how to set everything up, but here is a simpler note.
git clone --recursive https://github.com/mmp/pbrt-v3/
# or
git clone https://github.com/mmp/pbrt-v3/
git submodule update --init --recursive
Build
I am building on my MacBook Pro.
# install cmake command line tool
brew install cmake
# make a directory for the build, and change to that directory
mkdir pbrt-build
cd pbrt-build
# build
cmake [path to pbrt-v3 repository]
make -j8
and the final build folder will be like
.
├── CMakeCache.txt
├── CMakeFiles
├── CPackConfig.cmake
├── CPackSourceConfig.cmake
├── CTestTestfile.cmake
├── Makefile
├── bsdftest
├── cmake_install.cmake
├── cyhair2pbrt
├── imgtool
├── libpbrt.a
├── obj2pbrt
├── pbrt
├── pbrt_test
└── src
Render
Configurate your .pbrt scene file following this documentation. Then make sure current directory is the build folder, and run:
./pbrt [path to .pbrt scene file]
Your image will generate after a while in the build folder.
